Watermarking PDFs in Go with UniPDF

Introduction
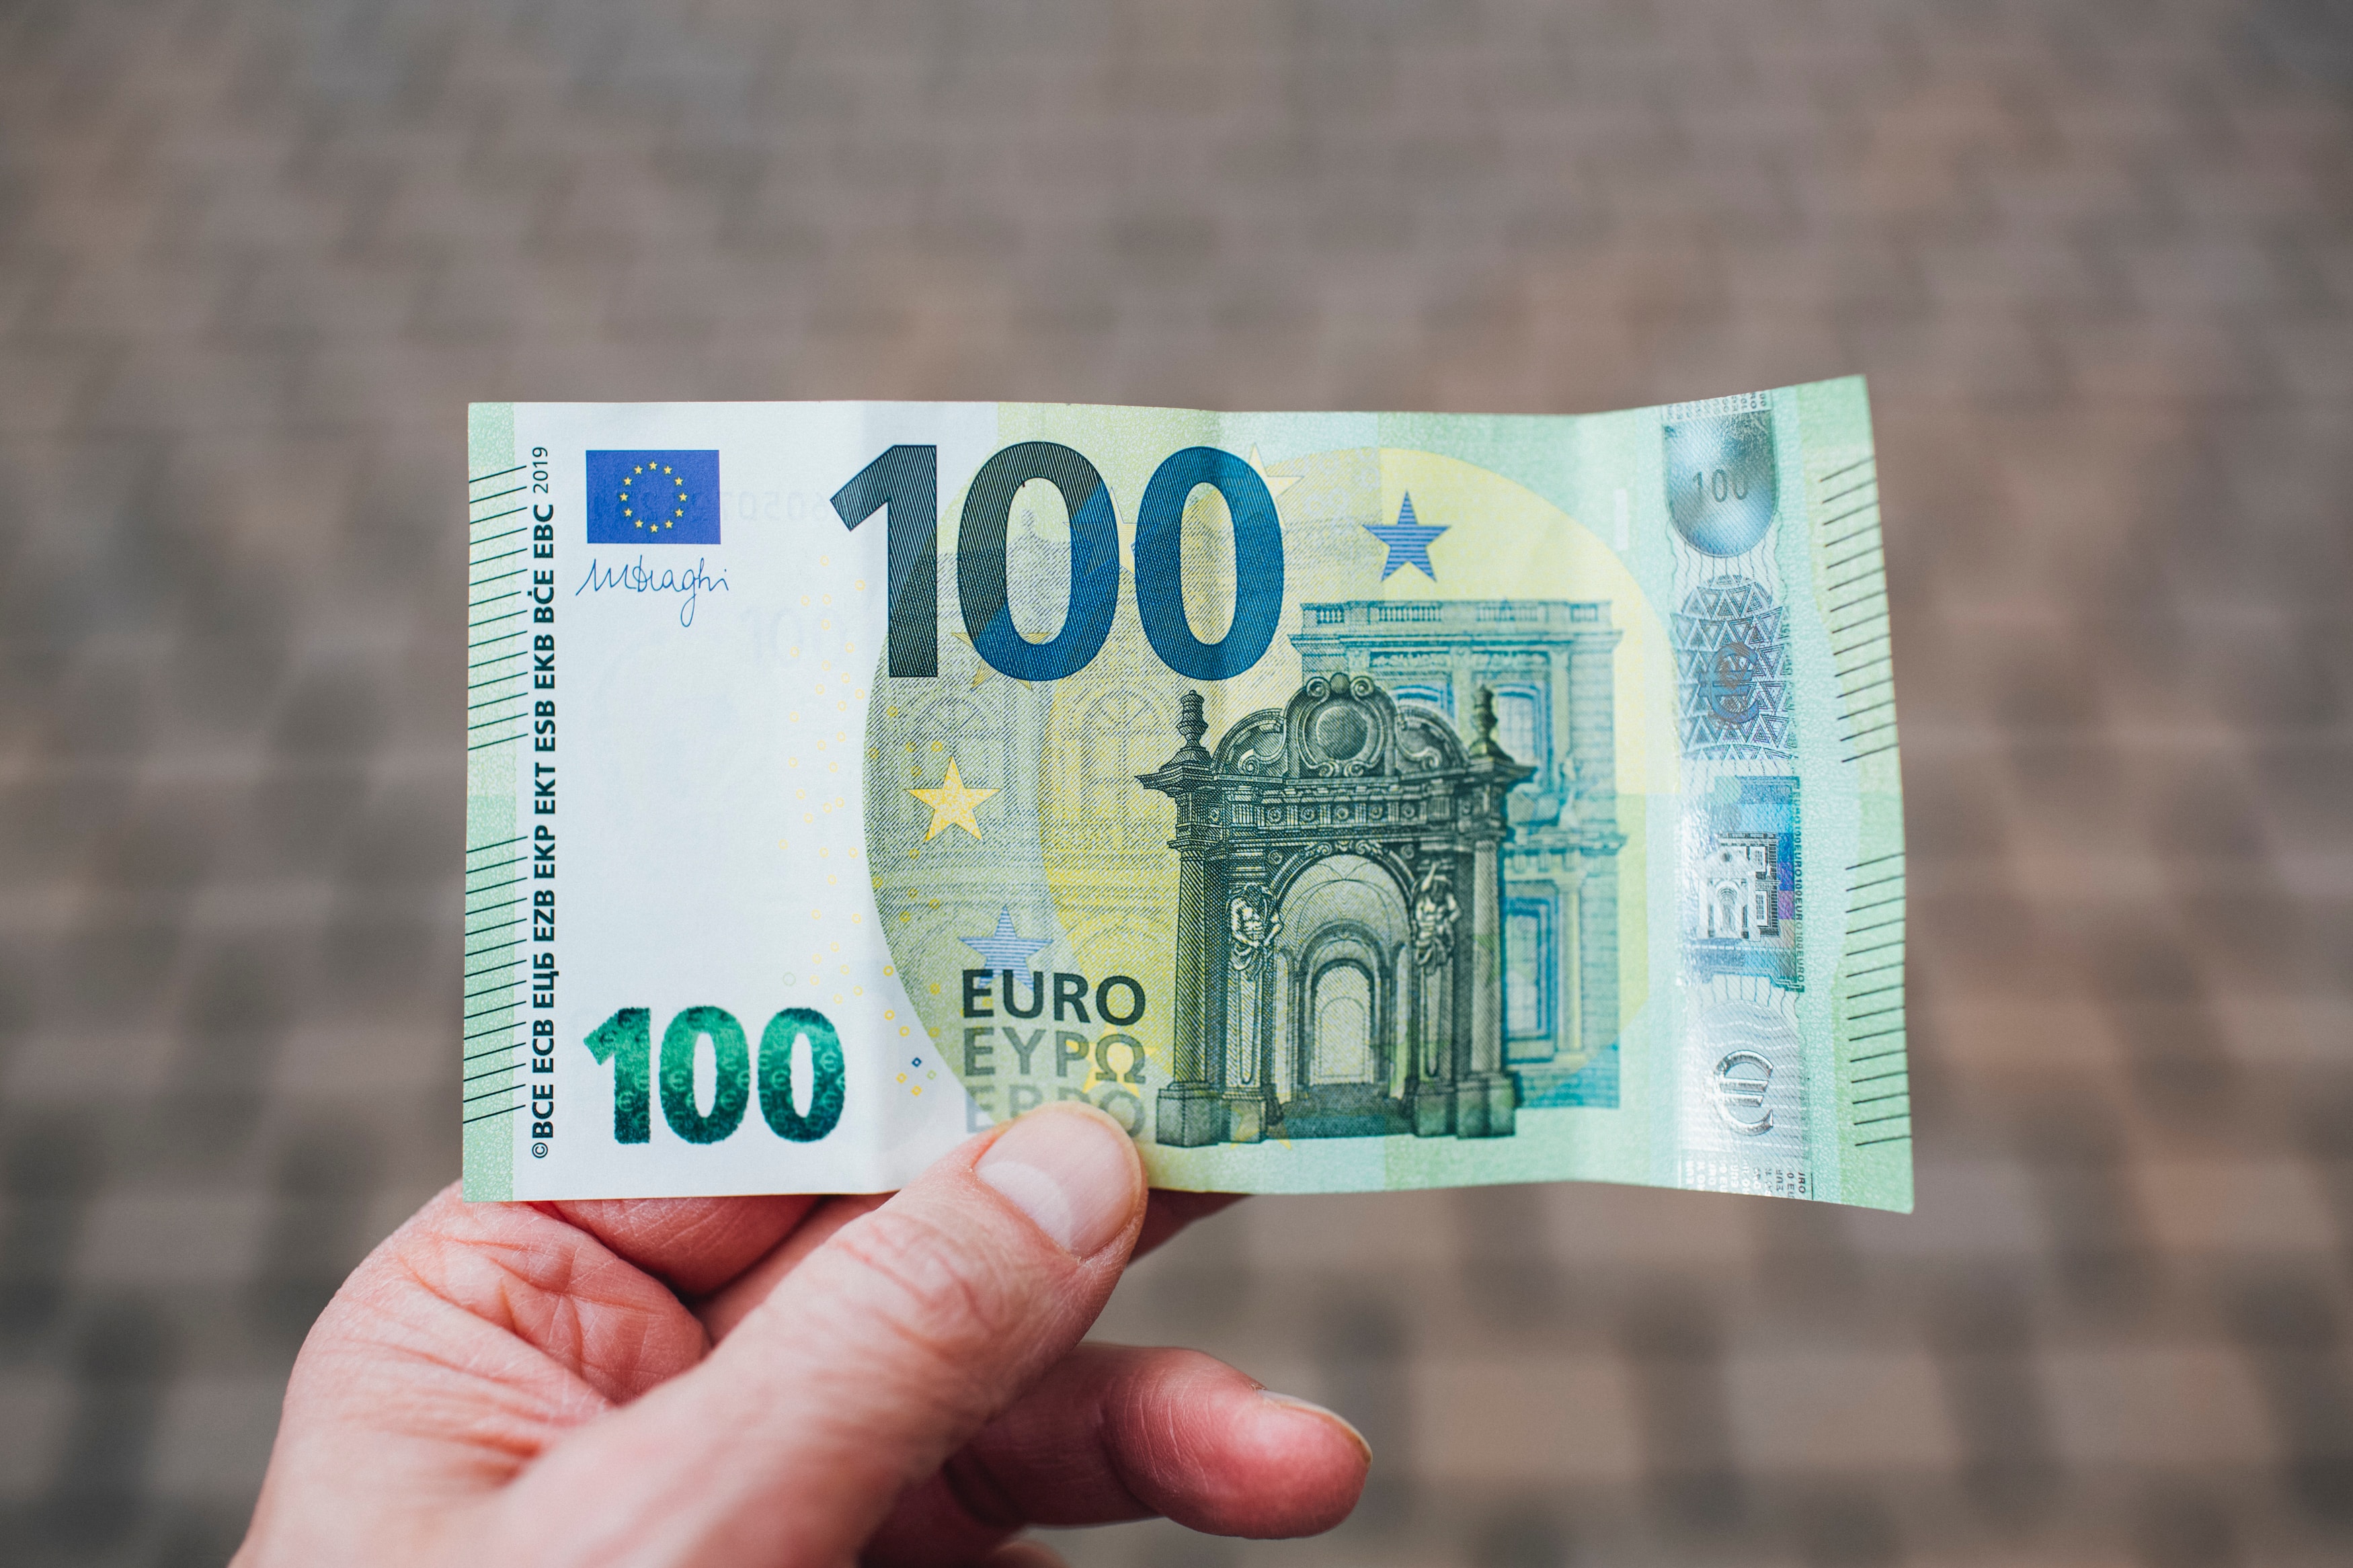
Watermarking a PDF file can be useful for security purposes and tracing the origins of a file. Just like a money bill is watermarked to make it more difficult to forge. A visible watermark such as a company logo or text speaks to the viewer and can convey some information, such as:
- The text “Confidential” clearly indicates that the file should not be shared
- Company logo behind the text clearly indicates the authority and owner of the file.
UniPDF is a powerful PDF library in Golang which enables creating, editing and processing PDF files. Go is a very powerful language when it comes to designing software that needs speed as well as readability.
In this article we will demonstrate how to use UniPDF to add watermarks to PDF files. We will create a Go program that opens PDFs, applies a watermark loaded from an image and writes out the watermarked PDF. This basis can easily be converted to a batch processing application, or a web service.
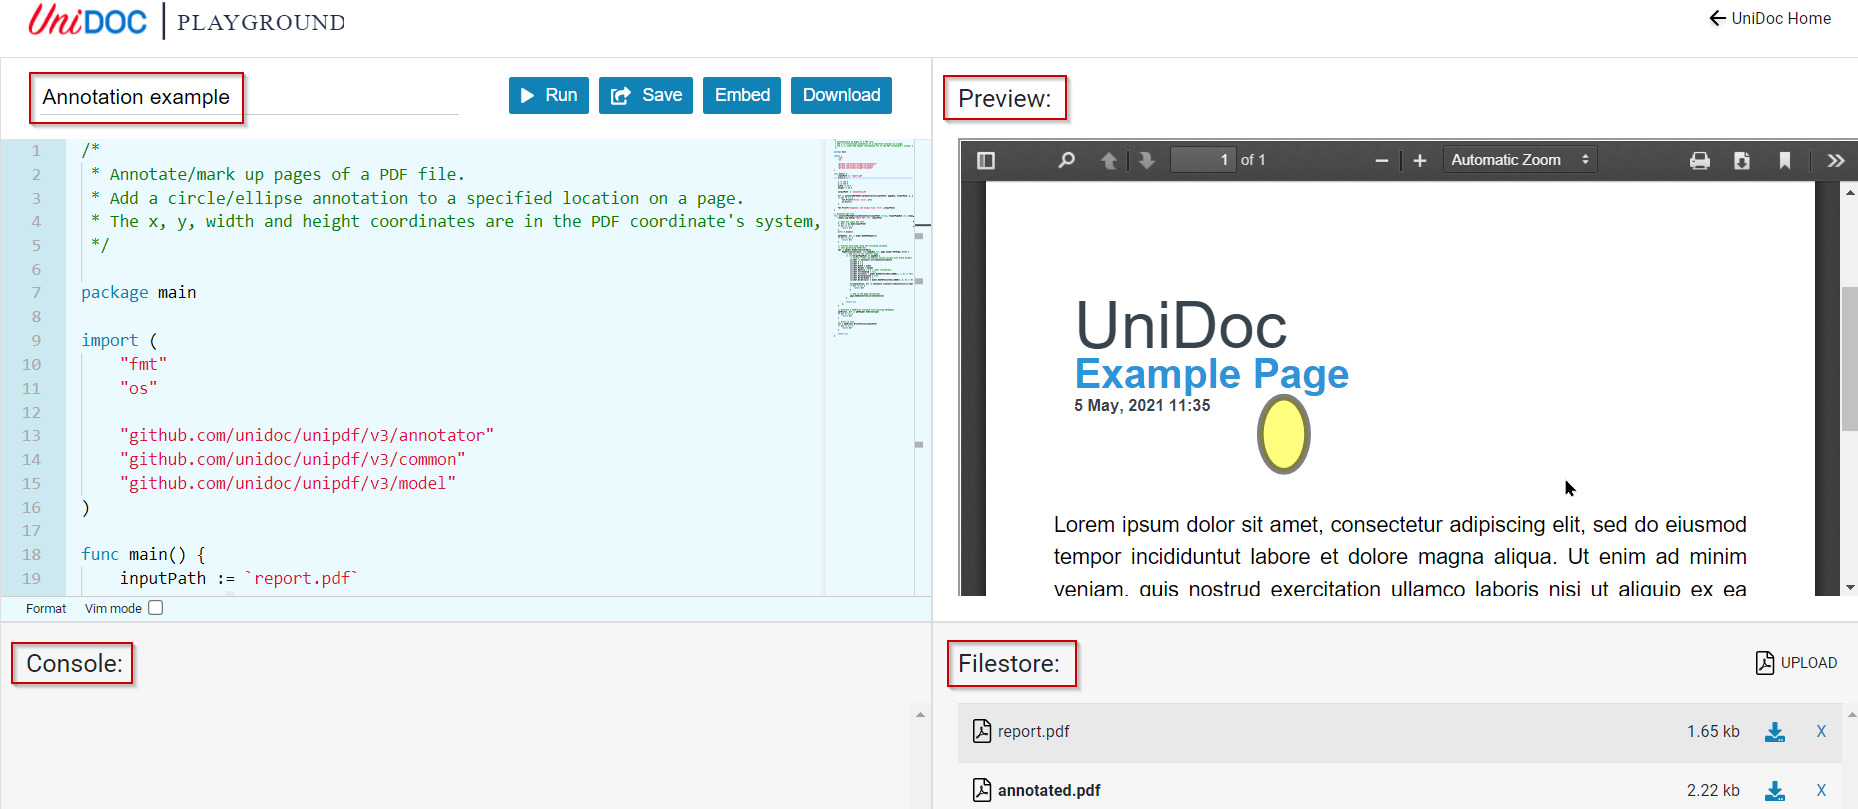
Outline - main function
Our program takes in three arguments the input path of the file that has to be watermarked, the image that will be used as watermark and the output file to write to. And then calls the function addWaterMarkImage to add the watermark. The function will be explained later in detail.
func main() {
    if len(os.Args) < 4 {
        fmt.Printf("go run pdf_watermark_image.go input.pdf watermark.jpg output.pdf\n")
        os.Exit(1)
    }

    inputPath := os.Args[1]
    watermarkPath := os.Args[2]
    outputPath := os.Args[3]

    err := addWatermarkImage(inputPath, outputPath, watermarkPath)
    if err != nil {
        fmt.Printf("Error: %v\n", err)
        os.Exit(1)
    }

    fmt.Printf("Complete, see output file: %s\n", outputPath)
}
Input - Loading the input PDF file
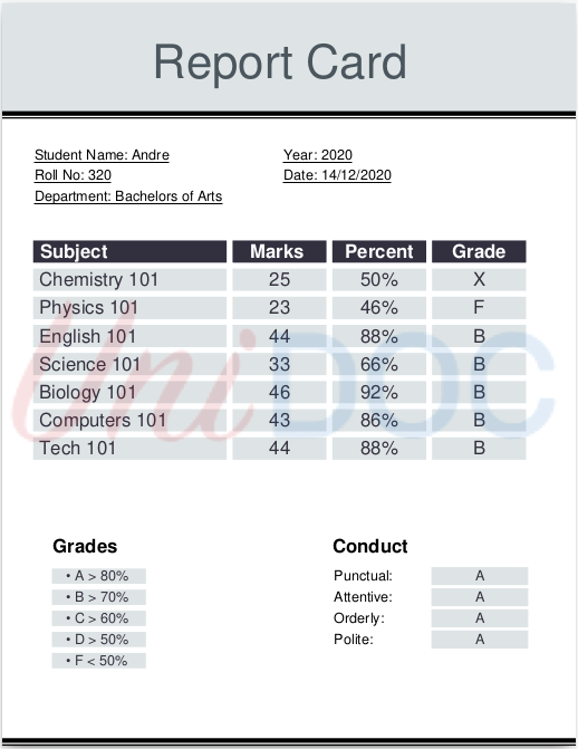
So the input file is the file you need the watermark on. It can be a pdf file with as many pages as you want but for the ease of this article we will be using this example of a report card pdf to display. This file was created in our recent blog post about how to create a PDF report card from scratch with the creator package. This method is used to read the input file from the input path; it gives a pdfReader object which can then be worked with to generate watermarks.
// Read the input pdf file.
pdfReader, f, err := model.NewPdfReaderFromFile(inputPath, nil)
if err != nil {
return err
}
defer f.Close()
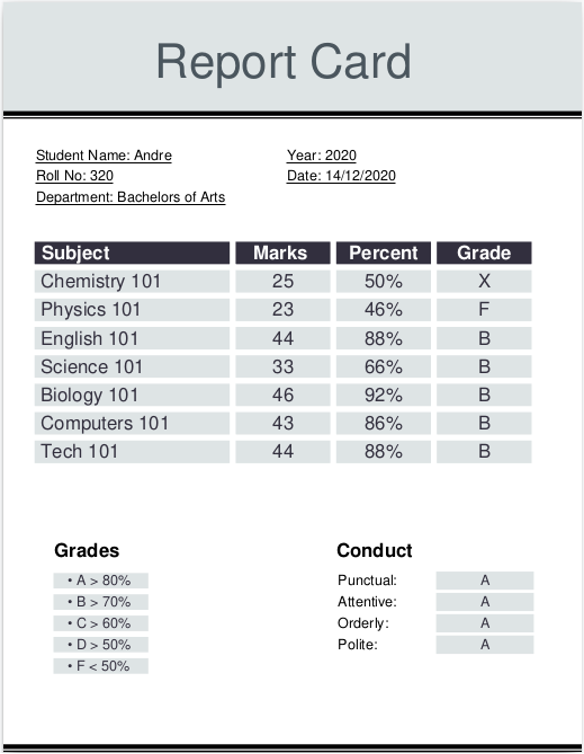
Input file - PDF report card that we are planning to watermark
Watermark Image - Loading and insertion
For watermark images it is important to use an image that has transparent background (or is white) as using an image with a non-transparent background can cause it to interfere with our original pdf and can distort the output. Here in this part of the code you can see how to read an image and how to set its position and its scale. It is also important to set the opacity depending on the kind of image you are using, as lowering opacity on image that has light colors can cause the colors to diminish.
watermarkImg, err := c.NewImageFromFile(watermarkPath)
if err != nil {
    return err
}
c.AddPage(page)

watermarkImg.ScaleToWidth(c.Context().PageWidth)
watermarkImg.SetPos(0, (c.Context().PageHeight-watermarkImg.Height())/2)
watermarkImg.SetOpacity(0.125)
\_ = c.Draw(watermarkImg)
This draws the watermark on top of the content with transparency.
Alternatively, if the background is troublesome, it might make sense to draw the image first, and then the page contents on top of that. This might possibly lead to your watermark being not visible in all cases. Depends a bit on the use case and the importance of the watermark showing.
In this example we will use the unidoc-logo.png as the watermark.

Generating the output watermarked PDF file
So here we are going to talk about the function that does the magic. It creates a new creator object of UniPDF and then reads the input file and input image and iterates over the entire PDF file to watermark it.
To get the number of pages in a PDF file we use this function. This returns pages or errors in case it fails (which should almost never happen and would indicate a significant problem with the file).
numPages, err := pdfReader.GetNumPages()
if err != nil {
    return err
}
This returns numbers of pages on which we can iterate and then write every page one by page and draw our watermarked Image with desired opacity.
for i := 0; i < numPages; i++ {
    pageNum := i + 1

    // Read the page.
    page, err := pdfReader.GetPage(pageNum)
    if err != nil {
        return err
    }

    // Add to creator.
    c.AddPage(page)

    watermarkImg.ScaleToWidth(c.Context().PageWidth)
    watermarkImg.SetPos(0, (c.Context().PageHeight-watermarkImg.Height())/2)
    watermarkImg.SetOpacity(0.125)
    _ = c.Draw(watermarkImg)

}
The output file is then written out as follows. Prior to writing to file, we apply the outline tree and forms from the original PDF to maintain those if they are set.
// Add reader outline tree to the creator.
c.SetOutlineTree(pdfReader.GetOutlineTree())

// Add reader AcroForm to the creator.
c.SetForms(pdfReader.AcroForm)

return c.WriteToFile(outputPath)
The generated output PDF file then looks as follows
Conclusion
We have demonstrated how to use golang and UniPDF to conveniently generate watermarked PDFs in a simple fashion.
Same technique can be used to add images to a PDF as we desire. For example we could add a QR code or barcode to PDF pages, or add a sticky footer or header to each page.
This entire example is a part of our PDF processing examples on GitHub and this particular example can be found here.