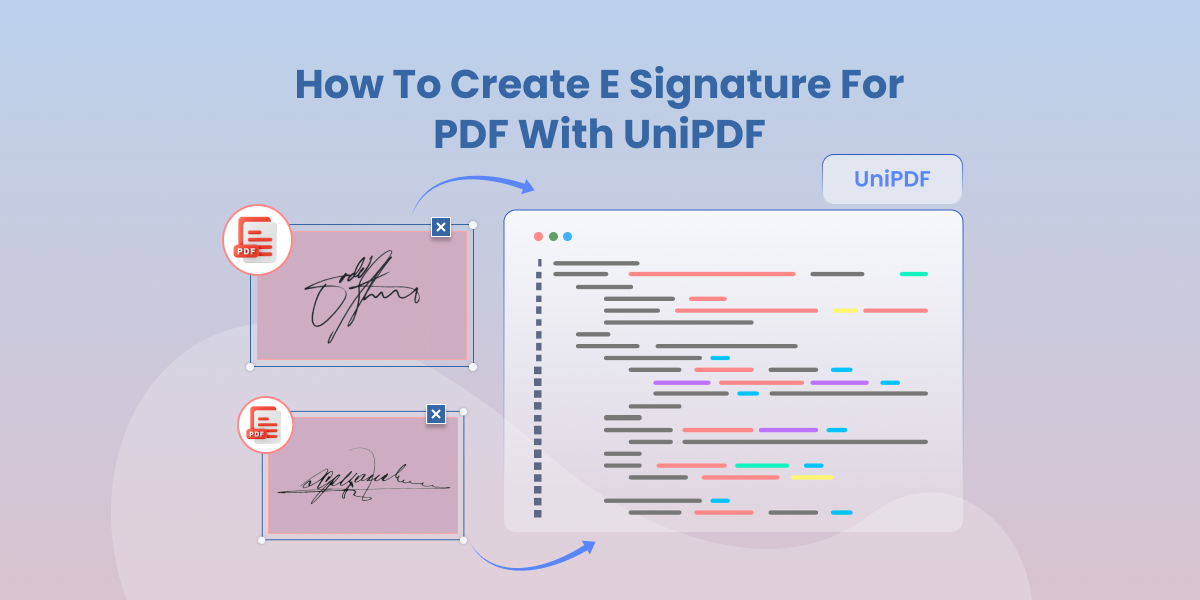
How to Create e Signature for PDF with UniPDF

An e signature is a digital way to show approval on a file. When you create digital signature inside a file it locks the data and shows if someone tries to change it. This helps to protect the document and build trust between people who share it.
UniPDF is a Go library for full control of PDF files. It supports secure digital signatures, file encryption, and visible marks. With UniPDF, you can add an e signature to a PDF by code and make sure the sign is valid.
This guide shows how to set up the project, create keys and place a sign inside a PDF with UniPDF.
Prerequisites
Before starting with UniPDF, make sure your system is properly set up. Follow these steps to prepare your environment.
Install Go
Download the latest stable version of Go from the official website.
Follow the installation guide for your operating system (Windows, macOS, or Linux).
To confirm installation, run:
go versionThis will display the installed version.
This will display the installed version
Set Up Your Development Environment
Make sure your system PATH includes the Go binary.
Create a dedicated workspace folder for UniDoc projects to keep everything organized.
Get a UniPDF License Key
You’ll need a valid license key to run UniPDF examples without errors.
If you don’t have one yet, request a key from the UniDoc website.
Project Setup
Follow these steps to prepare your environment for working with UniPDF.
1. Clone the Example Repository
Start by downloading the UniPDF example files from GitHub. These include ready-to-use code samples for working with signatures. Run:
git clone https://github.com/unidoc/unipdf-examples.git
2. Open the Signature Examples Folder
Move into the directory that contains the signature examples:
cd unipdf-examples/signatures
3. Set the License Key
A UniPDF license key is required to activate the SDK. If it is not set, the code will stop with an error.
On Linux or macOS, run:
export UNIDOC_LICENSE_API_KEY=PUT_YOUR_API_KEY_HERE
On Windows, run:
set UNIDOC_LICENSE_API_KEY=PUT_YOUR_API_KEY_HERE
Replace YOUR_API_KEY with your valid UniDoc license key. Ensure there are no spaces when pasting it.
4. Verify the Setup
Once the key is active, test your setup using one of the included sample files. For example:
go run pdf_sign_twice_visible_annotation.go input.pdf output.pdf
This command will add an e signature to the PDF. You can open the new file to check the result. This step proves that your setup is correct and ready.
Generating Keys and Certificates
A digital signature needs a private key and a certificate. The private key creates the sign. The certificate proves that the sign belongs to a real source. UniPDF uses RSA keys with an X.509 certificate for this step.
The code below shows how to make the keys:
func generateKeys() (*rsa.PrivateKey, *x509.Certificate, error) {
    // Generate private key.
    priv, err := rsa.GenerateKey(rand.Reader, 2048)
    if err != nil {
        return nil, nil, err
    }

    // Initialize X509 certificate template.
    template := x509.Certificate{
        SerialNumber: big.NewInt(1),
        Subject: pkix.Name{
            Organization: []string{"Test Company"},
        },
        NotBefore: now.Add(-time.Hour),
        NotAfter:  now.Add(time.Hour * 24 * 365),
        KeyUsage:  x509.KeyUsageDigitalSignature,
        ExtKeyUsage:  []x509.ExtKeyUsage{x509.ExtKeyUsageServerAuth},
        BasicConstraintsValid: true,
    }

    // Generate X509 certificate.
    certData, err := x509.CreateCertificate(rand.Reader, &template, &template, priv.Public(), priv)
    if err != nil {
        return nil, nil, err
    }

    cert, err := x509.ParseCertificate(certData)
    if err != nil {
        return nil, nil, err
    }

    return priv, cert, nil
}
This function makes a new RSA key pair and then creates a self-signed certificate. The certificate is valid for one year. The key size is set to 2048 bits which is safe for most use cases.
This step is important because without a key and certificate the e signature cannot be secure. A valid key pair makes sure that the PDF cannot be changed without breaking the sign. This is the base for a secure e signature online.
Creating and Adding the Signature Field
After you have the key and certificate the next task is to build the sign field. The field tells the PDF where to place the sign and what text to show.
The code uses PdfReader to open the input file. Then it uses PdfAppender to prepare the file for output. A sign handler is created with sighandler. NewAdobePKCS7Detached. This links the private key and certificate to the sign.
Here is a short example:
func addSignature(pdfReader *model.PdfReader, signNumber int) ([]byte, error) {
    totalPage, err := pdfReader.GetNumPages()
    if err != nil {
        log.Fatalf("Fail: %v\n", err)
    }

    appender, err := model.NewPdfAppender(pdfReader)
    if err != nil {
        return nil, err
    }

    priv, cert, err := generateSigKeys()
    if err != nil {
        return nil, err
    }

    handler, err := sighandler.NewAdobePKCS7Detached(priv, cert)
    if err != nil {
        return nil, err
    }

    signature := model.NewPdfSignature(handler)
    signature.SetName("Test Signature Appearance Name")
    signature.SetReason("TestSignatureAppearance Reason")
    signature.SetDate(time.Now(), "")
    if err := signature.Initialize(); err != nil {
        return nil, err
    }

    opts := annotator.NewSignatureFieldOpts()
    opts.FontSize = 8
    opts.Rect = []float64{float64(50 + signNumber*100), 250, float64(150 + signNumber*100), 300}
    opts.TextColor = model.NewPdfColorDeviceRGB(255, 0, 0)

    sigField, err := annotator.NewSignatureField(
        signature,
        []*annotator.SignatureLine{
            annotator.NewSignatureLine("Name", "John Doe"),
            annotator.NewSignatureLine("Date", "2024.10.15"),
            annotator.NewSignatureLine("Reason", fmt.Sprintf("Test sign #%d", signNumber)),
            annotator.NewSignatureLine("Location", "London"),
            annotator.NewSignatureLine("DN", "authority2:name2"),
        },
        opts,
    )

    if err != nil {
        return nil, err
    }

    sigField.T = core.MakeString(fmt.Sprintf("New Page Signature %d", signNumber))
    if err = appender.Sign(totalPage, sigField); err != nil {
        log.Fatalf("Fail: %v\n", err)
    }

    buf := &bytes.Buffer{}
    if err = appender.Write(buf); err != nil {
        return nil, err
    }

    return buf.Bytes(), nil
}
The code above creates one visible signature field on page one of the file. With this method you can draw e signature online or add e signature to PDF in a clear way. This process also answers how to sign PDF digitally with UniPDF.
Applying Multiple Signatures
Some documents need more than one sign. For example, a contract can have a sign from the owner and also by a witness. UniPDF can add two or more visible signs in one PDF.
The example file shows this process. The code first adds one field on a page. It then calls the same function again to add a second field in another spot. If you want a deeper look at the basics of PDF signing you can also read our detailed guide here: Applying Digital Signature to Your PDF
Running the Example Code
To test the setup run this command from inside the signatures folder:
go run pdf_sign_twice_visible_annotation.go <INPUT_PDF_PATH> <OUTPUT_PDF_PATH>
Replace input with your file and choose a name for output. After the command finishes you will see a new file with visible e signatures.
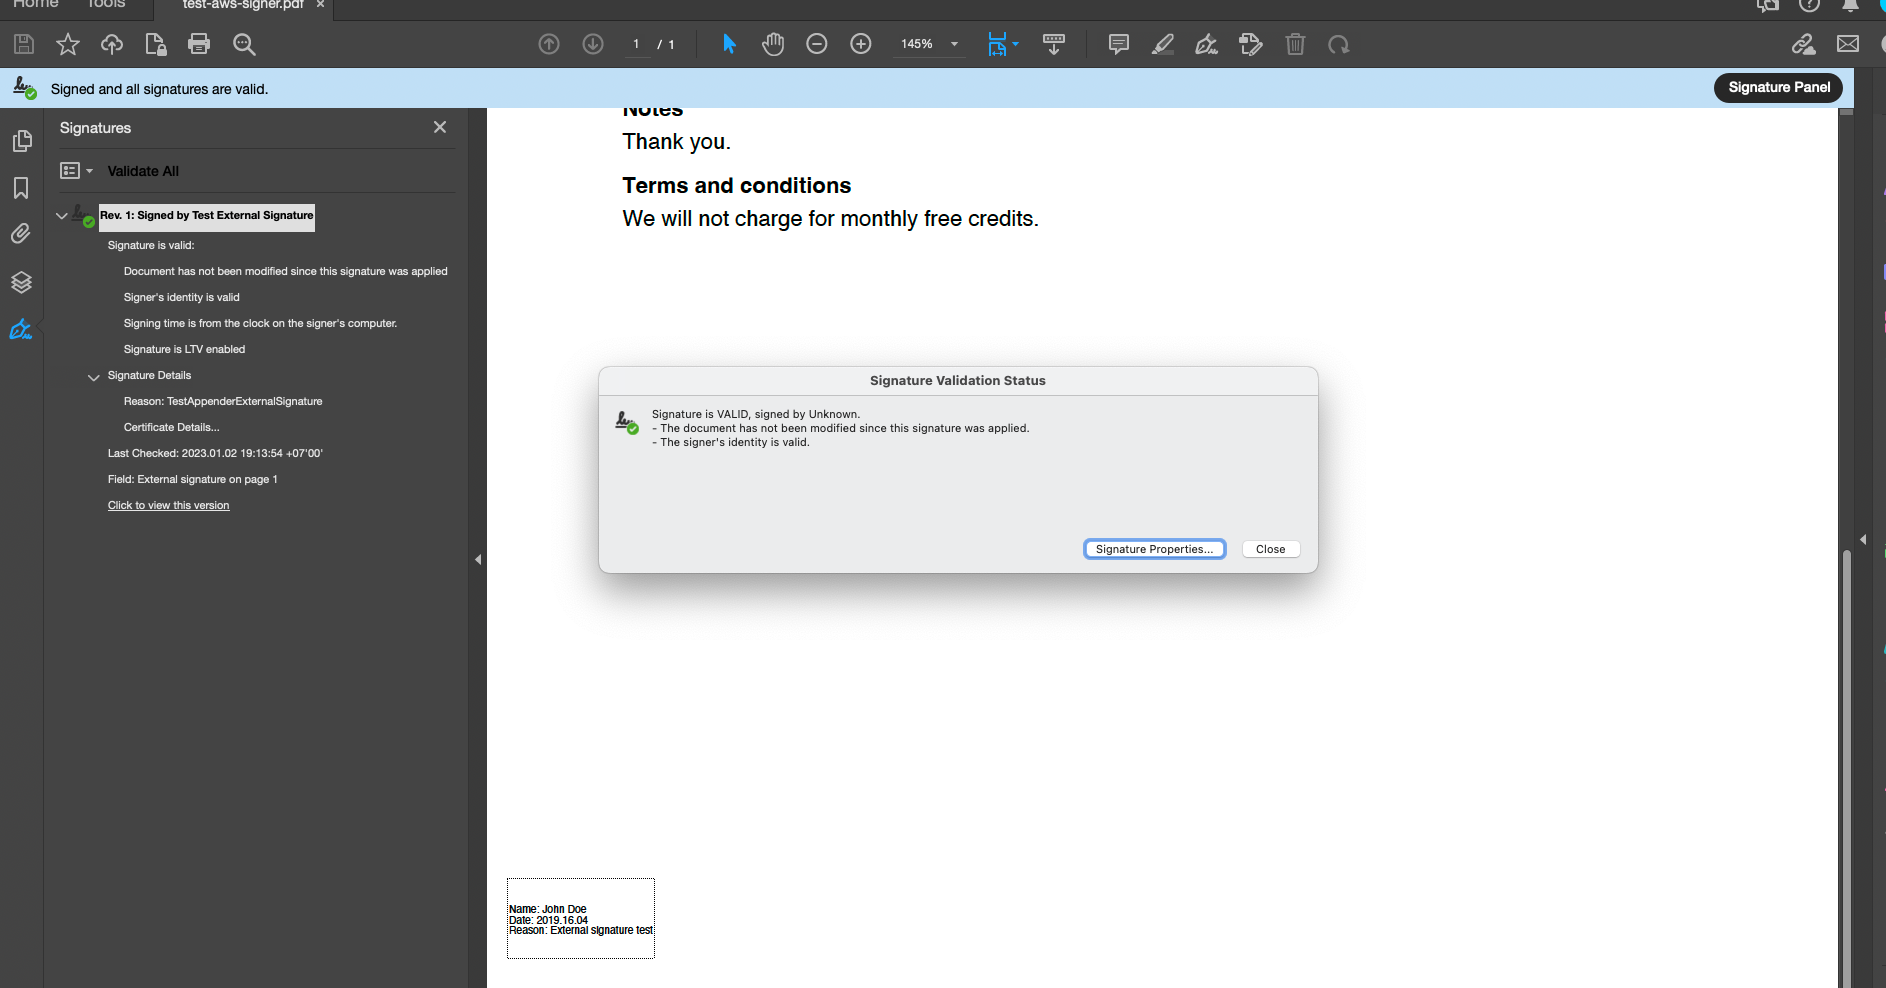
Open the output file in a PDF viewer. You should see two fields with the details you set. This confirms that UniPDF has added the signs in a correct way.
Expanding Beyond PDFs
The main use of UniPDF is to add signs to PDF files. Still the same method can link with other workflows. If you have a Word file you can first convert it to PDF and then apply the same sign process. This lets you create e-signature for Word documents.
You can also set up UniDoc tools on a server. A user can then upload a file and get it back with a sign. This gives a way to sign documents online or use a secure e signature online system.
By using UniDoc as the base you can also build a full e signature generator for business apps.
Best Practices for Secure e Signatures
Use RSA keys with at least 2048 bits. A short key can fail to protect the file.
Keep your private key in a safe place. Never store it in a public folder or in a code file.
Add a time stamp to the sign if you need proof of the exact time. This is often needed in legal or financial files.
UniDoc is made for secure use in companies. It gives strong support for business grade signing needs.
Final Verdict
With UniPDF you can make an e signature, add it to your files and keep your data safe. It is a solid tool for anyone who needs to add e-signature to PDF or sign PDF digitally.
Get the UniPDF SDK now, run the GitHub examples, and see how easy it is to create secure digital signatures in your own projects.