How to Create a Table of Contents in Word Using Go

Introduction:
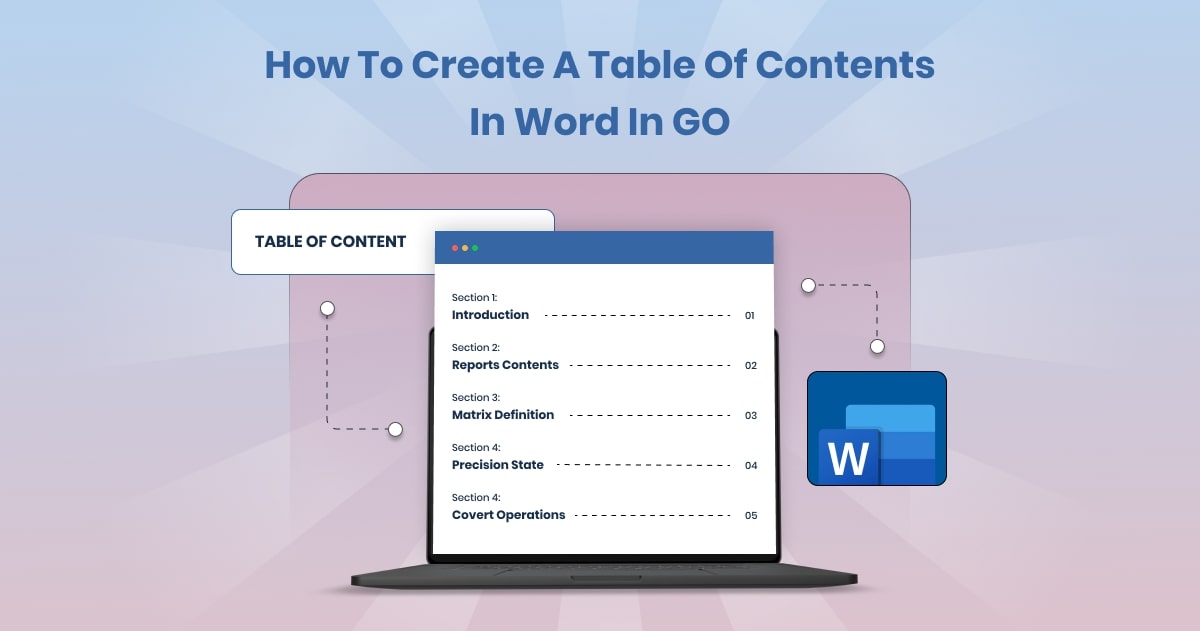
In the realm of document creation, organization is key to enhancing readability and accessibility. One effective way to achieve this is by incorporating a clickable Table of Contents (TOC) into your Microsoft Word documents.
In this guide, we’ll explore how to create a clickable TOC in Word using Go, leveraging the UniOffice SDK by UniDoc. With UniOffice, you can effortlessly generate TOCs that allow readers to navigate through your document with ease.
Prerequisites
Before we dive into the process of creating a clickable TOC, there are a few prerequisites you’ll need to fulfill:
- Obtain an API key from your UniCloud account.
- Set up a local development environment for Go if you haven’t already.
- Clone the UniOffice examples repository to access the code we’ll be using for this guide.
- Git installed.
How to Create a Table of Contents in word:
Step 1: Clone the UniOffice Examples Repository
Open your terminal and execute the following command to clone the UniOffice examples repository:
git clone https://github.com/unidoc/unioffice-examples
Navigate to the document/toc directory within the unioffice-examples directory:
cd unioffice-examples/document/toc
Step 2: Understand the Code
The code provided in the repository demonstrates how to create a clickable TOC in a Word document using Go with UniOffice. Let’s break down how it works:
// Copyright 2017 FoxyUtils ehf. All rights reserved.package main

import (
    "os"
    "github.com/unidoc/unioffice/common/license"
    "github.com/unidoc/unioffice/document"
    "github.com/unidoc/unioffice/measurement"
    "github.com/unidoc/unioffice/schema/soo/wml"
)

func init() {
    // Make sure to load your metered License API key prior to using the library.// If you need a key, you can sign up and create a free one at https://cloud.unidoc.io
    err := license.SetMeteredKey(os.Getenv(`UNIDOC_LICENSE_API_KEY`))
    if err != nil {
        panic(err)
    }
}

var lorem = `Lorem ipsum dolor sit amet, consectetur adipiscing elit. Proin lobortis, lectus dictum feugiat tempus, sem neque finibus enim, sed eleifend sem nunc ac diam. Vestibulum tempus sagittis elementum`

func main() {
    doc := document.New()
    defer doc.Close()

    // Force the TOC to update upon opening the document
    doc.Settings.SetUpdateFieldsOnOpen(true)

    // Add a TOC
    doc.AddParagraph().AddRun().AddField(document.FieldTOC)

    // followed by a page break
    doc.AddParagraph().Properties().AddSection(wml.ST_SectionMarkNextPage)

    nd := doc.Numbering.AddDefinition()
    for i := 0; i < 9; i++ {
        lvl := nd.AddLevel()
        lvl.SetFormat(wml.ST_NumberFormatNone)
        lvl.SetAlignment(wml.ST_JcLeft)

        if i%2 == 0 {
            lvl.SetFormat(wml.ST_NumberFormatBullet)
            lvl.RunProperties().SetFontFamily("Symbol")
            lvl.SetText("")
        }

        lvl.Properties().SetLeftIndent(0.5 * measurement.Distance(i) * measurement.Inch)
    }

    // and finally paragraphs at different heading levels
    for i := 0; i < 4; i++ {
        para := doc.AddParagraph()
        para.SetNumberingDefinition(nd)
        para.Properties().SetHeadingLevel(1)
        para.AddRun().AddText("First Level")

        doc.AddParagraph().AddRun().AddText(lorem)
        for i := 0; i < 3; i++ {
            para := doc.AddParagraph()
            para.SetNumberingDefinition(nd)
            para.Properties().SetHeadingLevel(2)
            para.AddRun().AddText("Second Level")

            doc.AddParagraph().AddRun().AddText(lorem)

            para = doc.AddParagraph()
            para.SetNumberingDefinition(nd)
            para.Properties().SetHeadingLevel(3)
            para.AddRun().AddText("Third Level")
            doc.AddParagraph().AddRun().AddText(lorem)
        }
    }
    doc.SaveToFile("toc.docx")
}
Explanation
The code imports necessary packages from the UniOffice SDK and sets up licensing authentication using your UNIDOC_LICENSE_API_KEY.
It initializes a new Word document and sets the option to update the TOC upon opening the document.
A TOC field is added to the document, followed by a page break.
A numbering definition is created to specify how list levels will appear in the document.
Paragraphs are added at different heading levels, and sample text is inserted for demonstration purposes.
Finally, the document is saved as “toc.docx”.
Step 3: Run the Code
Execute the following command in your terminal to run the code and generate the clickable TOC in Word:
go run toc.go
Conclusion
Creating a clickable Table of Contents in Microsoft Word using Go and UniOffice is a straightforward process that enhances document navigation and readability.
By following the steps outlined in this guide and leveraging the power of UniOffice, you can efficiently organize your documents and improve the overall user experience. Experiment with customizations and explore additional features to tailor your TOC to your specific needs.
For more information or assistance, feel free to contact us to help you with your Table of Contents setup.


