How to Create a Fillable Form in Word Using UniOffice

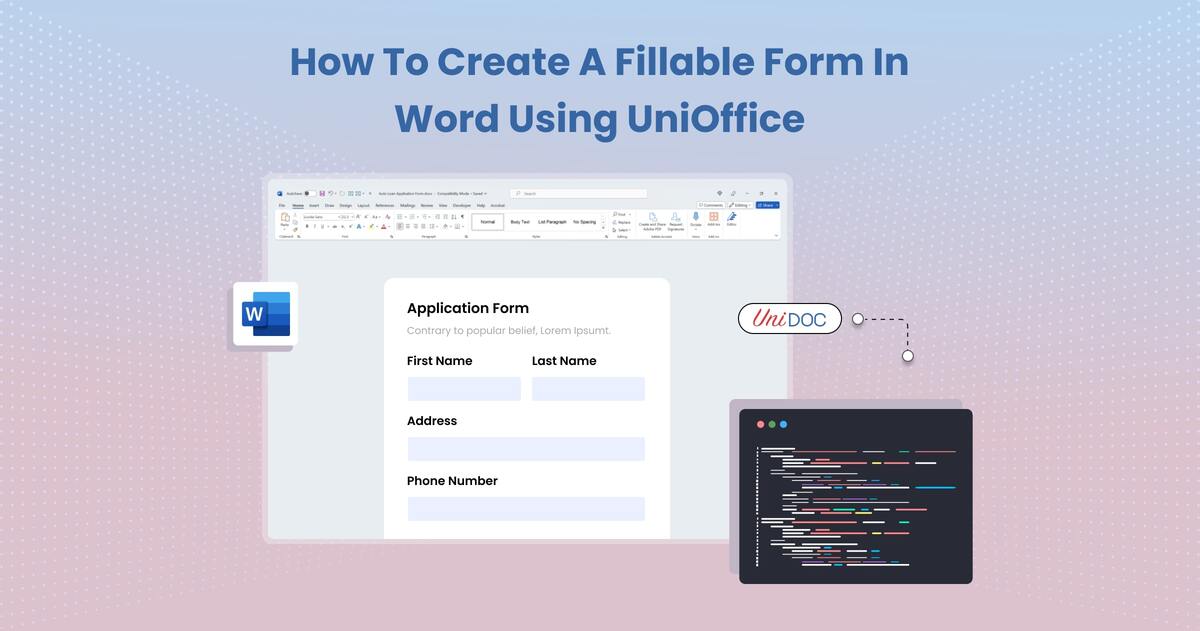
Creating fillable forms in Word can be a game-changer for businesses, educators, and anyone who needs to collect structured information. With UniOffice, an SDK designed for programmatically working with Microsoft Office files, you can automate the creation of fillable forms in Word documents.
This guide will walk you through how to create a fillable form in Word, complete with form fields like checkboxes, text inputs, and dropdowns. We’ll cover the essentials, from setting up the environment to adding and managing form fields in your documents
Why Create Fillable Forms in Word?
Before diving into the technical steps, it’s essential to understand why creating fillable forms in Word is so beneficial. Here are some common scenarios where fillable forms can save you time and effort:
Collecting Information: Whether it’s for surveys, registration forms, or feedback forms, fillable forms make it easy for users to input data directly into the document.
Streamlining Processes: Automating form creation saves time, especially when working with standard forms that require multiple fields.
Consistency in Data Collection: Fillable forms allow you to control the types of data entered, ensuring consistency across documents.
Ease of Use for Users: With fillable fields, users can quickly fill out forms on their devices without needing additional software.
Now, let’s dive into how you can create fillable forms in Word using UniOffice.
Setting Up Your Local Development Environment
If this is your first time using the UniOffice SDK, follow these steps to set up a local development environment:
- Clone the Project Repository: Open your terminal and run the following command to clone the UniOffice examples repository. It contains the Go code you will be using for this guide.
git clone https://github.com/unidoc/unioffice-examples.git
- Navigate to the Directory: Go to the
document/form-fieldsfolder within theunioffice-examplesdirectory:
cd unioffice-examples/document/form-fields
Now you’re ready to start creating a fillable form in Word.
How to Create a Fillable Form in Word Using UniOffice
The steps below will demonstrate how to add different types of form fields to a Word document using UniOffice, including checkboxes, text inputs, and dropdown lists.
Step 1: Import Necessary Packages
To get started, ensure you import the required packages and dependencies in your Go project. Here’s the code you need:
package main

import (
    "fmt"
    "os"

    "github.com/unidoc/unioffice/common/license"
    "github.com/unidoc/unioffice/document"
)
The code above imports essential packages from UniOffice, which will be used to create and manage form fields.
Step 2: Authenticate with Your API Key
Before you can start using UniOffice functionalities, you must authenticate with your API key. This is done in the init function:
func init() {
    // Make sure to load your metered License API key prior to using the library.// If you need a key, you can sign up and create a free one at https://cloud.unidoc.io
    err := license.SetMeteredKey(os.Getenv(`UNIDOC_LICENSE_API_KEY`))
    if err != nil {
        panic(err)
    }
}
This code retrieves your API key from the system environment and sets it up with the UniOffice library. Make sure to replace UNIDOC_LICENSE_API_KEY with your actual API key.
Step 3: Create a New Document
The next step involves creating a new Word document where you can add the fillable form fields. This is done by initializing a new document:
func main() {
    doc := document.New()
    defer doc.Close()
}
The document.New() function initializes a new Word document, and defer doc.Close() ensures that the document is closed properly after the program is done executing.
Step 4: Adding Form Fields
Adding a Checkbox
Checkboxes are a common form field that allows users to select an option. To add a checkbox to the document, use the following code:
p0 := doc.AddParagraph()
checkbox := p0.AddCheckBox("checkbox1")

checkbox.SetSize(20)
checkbox.SetChecked(true)
checkbox.SetEnabled(true)
checkbox.SetCalcOnExit(false)
Here’s a breakdown of what each line does:
p0 := doc.AddParagraph()creates a new paragraph in the document.p0.AddCheckBox("checkbox1")adds a checkbox form field with the name “checkbox1”.checkbox.SetSize(20)sets the size of the checkbox.checkbox.SetChecked(true)specifies that the checkbox is checked by default.checkbox.SetEnabled(true)allows the checkbox to be editable.checkbox.SetCalcOnExit(false)prevents any recalculation when the user exits the checkbox.
Adding a Text Input
To collect textual information from the user, you can add a text input field. The code snippet below demonstrates how to add a text input to your document:
p1 := doc.AddParagraph()

textInput := p1.AddTextInput("textInput1")
textInput.SetValue("Hello World")
textInput.SetEnabled(false)
This code creates a text input field:
p1 := doc.AddParagraph()creates a new paragraph for the text input.p1.AddTextInput("textInput1")adds a text input field named “textInput1”.textInput.SetValue("Hello World")sets the default value of the text input.textInput.SetEnabled(false)disables editing for this field.
Adding a Dropdown List
Dropdown lists are useful for providing users with a set of predefined options. Here’s how you can add a dropdown list to your Word document:
p2 := doc.AddParagraph()
ddList := p2.AddDropdownList("ddList1")

ddList.SetPossibleValues([]string{"Mercury", "Venus", "Earth", "Mars", "Jupiter", "Saturn", "Uranus", "Neptune"})
ddList.SetValue("Earth")
ddList.SetName("Solar system")
Explanation of the code:
p2 := doc.AddParagraph()creates a new paragraph.p2.AddDropdownList("ddList1")adds a dropdown list named “ddList1”.ddList.SetPossibleValues()sets the possible options for the dropdown.ddList.SetValue("Earth")makes “Earth” the selected default value.ddList.SetName("Solar system")assigns a descriptive name to the dropdown.
Step 5: Find All Form Fields in the Document
To confirm the fields added to the document, you can list them using the following code:
fields := doc.FormFields()

fmt.Println("found", len(fields), "fields")
for _, fld := range fields {
    fmt.Println("- Name:", fld.Name(), "Type:", fld.Type(), "Value:", fld.Value())
}
The code above retrieves all form fields in the document and displays their details on the screen.
Step 6: Save the Document
Finally, save your document to a file using:
doc.SaveToFile("filled-form.docx")
The SaveToFile function writes the document to a file named filled-form.docx.
Running the Code
To create the fillable form, run the code from your terminal using the command:
go run main.go
This will generate a Word document named filled-form.docx with all the form fields.
Sample Output
After running the code, you should see an output indicating the number of form fields found:
found 3 fields- Name: checkbox1 Type: FormFieldTypeCheckBox Value: true- Name: textInput1 Type: FormFieldTypeText Value: Hello World- Name: Solar system Type: FormFieldTypeDropDown Value: Earth
This confirms that the checkbox, text input, and dropdown list have been successfully added to the document.
How Do I Create a Fillable Form in Word Using UniOffice?
Creating fillable forms in Word using UniOffice is a seamless process. The steps provided above cover everything from adding checkboxes and text inputs to dropdown lists. The process allows for automating form creation, making it easy to generate multiple documents with similar structures.
Advantages of Using UniOffice for Fillable Forms
Automation: Programmatically generate and fill forms, saving time on repetitive tasks.
Customization: Control the properties of each form field, including size, default values, and more.
Scalability: Create multiple documents in bulk with the same form fields.
Use Cases for Fillable Forms
Fillable forms can be used in various industries, including:
Legal: Contracts that need multiple fields for client information.
Human Resources: Employee onboarding forms.
Education: Quizzes and exam papers with fillable answers.
Healthcare: Patient intake forms.
How Do You Create Fillable Forms in Word Without Code?
While this guide covers the process using UniOffice, Word also allows you to create fillable forms manually. To add fillable fields in Word without code, you can use the “Developer” tab. However, this manual method may not be ideal for creating forms at scale.
Conclusion
Learning how to create a fillable form in Word using UniOffice unlocks numerous possibilities for automating document creation and data collection. By following this guide, you can add checkboxes, text inputs, and dropdown lists programmatically, ensuring that your forms meet specific requirements while saving time.


